


I changed my stuffed peppers from using beef to ground turkey. I also used brown rice instead of white rice for the added nutrition and fiber. For my two boys I gave them the filling minus the peppers and they loved it. A few carrots on the side and they also have a complete meal.
This meal is super filling and since you have all food groups represented, you can be in and out of the kitchen in no time. Enjoy!
Ground Turkey and Brown Rice Stuffed Peppers
Ingredients
1 pound ground turkey
1.5 – 2 cups cooked brown rice
6 green bell peppers
1 3 oz. can tomato paste
1 tablespoon Worcestershire sauce
1 cloved garlic, minced
1 teaspoon dried basil, or 1 T. fresh basil
1/2 tsp. red pepper flakes
2 T. half & Half
1/2 cup Parmesan Cheese
Directions
Preheat oven to 350 degrees F (175 degrees C).
Spray a non-stick skillet with cooking spray. Over medium heat, cook the turkey until evenly browned. Once browned, drain and add the turkey back into the skillet. Add rice, tomato paste, worcestire sauce, garlic, basil, red pepper flakes and half & half. Simmer on medium for about five minutes. (If necessary add water if the mixture looks a bit dry. I added about a 1/4 cup to moisten the mixture up a bit. This will depend on the fat content of your turkey as well.) Add salt & pepper to taste.
Remove and discard the tops, seeds, and membranes of the bell peppers. Arrange peppers in a baking dish sprayed with non-stick spray. (Slice the bottoms of the peppers if necessary so that they will stand upright.)
Spoon an equal amount of the mixture into each hollowed pepper.
Bake 20 minutes in the preheated oven. Top with parmesan cheese and enjoy!


‘

I love false eyelashes. These magical strips can transform anyone’s look from pretty to gorgeous in a lash adhesive applied hot second.
When I first started wearing false eyelashes I used to head to the MAC counter to have them applied for me. The makeup artists there are very talented and will usually add a little liner and shadow at no additional cost, but at $16 a set, in my opinion, they are a bit pricey. Yes, lashes can be used more than once but the first time is generally the best. Since I am a YouTube junkie I found several videos on how to apply false lashes. They are informative and give great tips on application. Here are links to a couple of my favorites from stillGLAMORUS and nurberxo both who provide detailed instructions and helpful tips. Thanks to beauties like these gals I have become a bit of a lash junkie and regularly use false lashes to add a little something extra to my look.
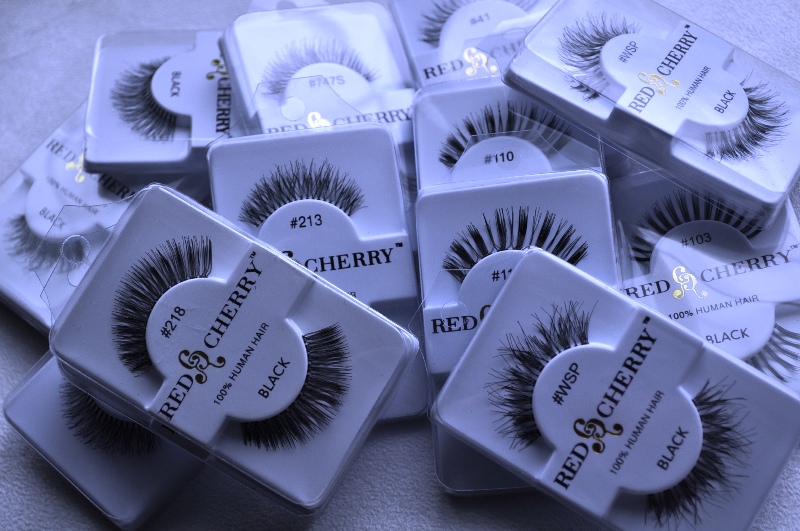
I kept hearing about Red Cherry lashes and how amazing they were. Not only do they have a ton of styles, they are reasonably priced. I did have one major problem though, I couldn’t seem to find them in any of the regular stores I was going to. By regular, I mean Rite Aid, Walgreen’s, Target…you get the picture. I googled Red Cherry DW (my personal favorite) and a listing came up on ebay for a lot of 15 lashes for $28.70. I had the opportunity to choose from 77 different types of Red Cherry lashes and at less than $2/pair, this was significantly less than I spent on my MAC lashes and still less than the Ardell lashes I find at my drug store. Here is a picture of my loot:

On Glaamspot, I find that almost every celebrity makeup look utilizes fake eyelashes. They instantly take a glamorous look from hot to mega hot and just because I am a mom of two crazy boys, that doesn’t mean I am not going to “glam” it up whenever I can. Here are some of my favorite celebrity makeup looks from Olivia Wilde, Kim Kardashian, Carrie Underwood and Ivanka Trump:

1. Olivia Wilde 2. Ivanka Trump 3. Kim Kardashian 4. Carrie Underwood
Hopefully you will try using some false eyelashes if you haven’t already. Don’t forget to check out all the great celebrity makeup looks on Glaamspot!

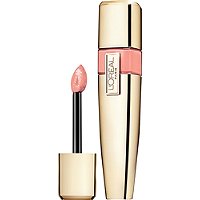
I was at my neighborhood Rite Aid and saw these pretty glosses in gold tubes and was super excited to try them. They had three pluses right away: pretty colors, pretty packaging and the were from L’Oreal whose makeup I tend to think is consistently above average in terms of quality. Rite Aid was having a BOGO deal on all L’Oreal products so I picked up three of these new glosses and one of my tried and true favorite felt tip L’Oreal eyeliners.
I have to say since swatching these and trying these on once, I haven’t used them any more. I am not impressed with anything regarding these glosses. Unfortunately they are one giant disappointment. The two things I was looking for in these glosses – pigmentation and smooth feel, they just don’t have.
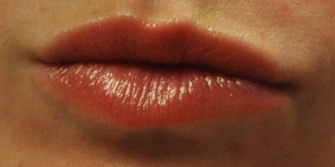
Let’s start with pigmentation. I love me some Carmex and if I need a slightly glossy look my natural lip color is pigmented enough where with a bit of Carmex I am good to go. If I see a lip gloss that looks to have a pigmented color I want some color payoff. The coral color does give a bit of a color, but the two pinks are hopeless. They will blend right into your lips and basically be unnoticable. See here (the color I had on is Rose On and On):

The product claims are as follows, “Colour Riche Caresse Liquid Lip Lacquer by L’Oreal is a water based stain formula with high shine. The luminous lip color is more comparable to a traditional lipstick, although this product too is lighter weight than a traditional lipstick.”
Unfortunately I found these to be nothing like a true lipstick, just a watery, slightly sticky mess that did not apply with much pigmentation or last very long at all.
In case you were curious, here are the colors I tried on:


 My son came home the other day and begged for brownies. Apparently one of his classmates had a birthday and the treat they brought in was a brownie which created a craving for him. I completely get this as I have this reaction frequently when eating something yummy so I quickly did a search on the computer for a quick, easy brownie recipe.
The search landed me on AllRecipes.com to a recipe called, “Best Brownies” which had 4.5 stars out of 4,962 reviews. Now, I always look at reviews but I have never seen a recipe ranked so high with that many reviews. I knew I found my recipe. I also love that everything is on hand and you don’t have to use a mixer which is always a plus as far as I am concerned.
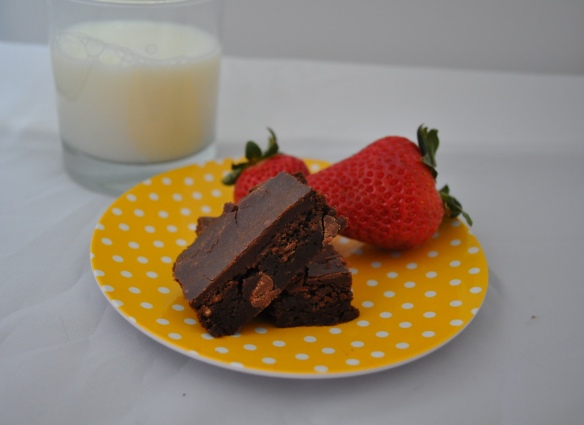
I made the brownies, they were fantastic and one of the things I liked best about them was the frosting you put on top of them while they are still warm. The warmth from the brownies allows the frosting to ooze into this decadent treat. Try them, if you don’t believe me trust the 4,962 reviews.
Best Brownie Recipe
(adapted from AllRecipes.com)
Ingredients
Brownie:
1/2 cup butter
1 cup white sugar
2 eggs
1 teaspoon vanilla extract
1/3 cup unsweetened cocoa powder
1/2 cup all-purpose flour
1/4 teaspoon salt
1/4 teaspoon baking powder
2/3 cup chocolate chips (this is my own addition)
Frosting:
3 tablespoons butter, softened
3 tablespoons unsweetened cocoa powder
1 tablespoon honey
1 teaspoon vanilla extract
1 cup confectioners’ sugar
Directions
Preheat oven to 350 degrees F (175 degrees C). Grease and flour an 8 inch square pan.
In a large saucepan, melt 1/2 cup butter. Remove from heat, and stir in sugar, eggs, and 1 teaspoon vanilla. Beat in 1/3 cup cocoa, 1/2 cup flour, salt, chocolate chips and baking powder. Spread batter into prepared pan.
Bake in preheated oven for 25 to 30 minutes. Do not overcook.
To Make Frosting: Combine 3 tablespoons butter, 3 tablespoons cocoa, 1 tablespoon honey, 1 teaspoon vanilla, and 1 cup confectioners’ sugar. Frost brownies while they are still warm.
Makes 16 brownies

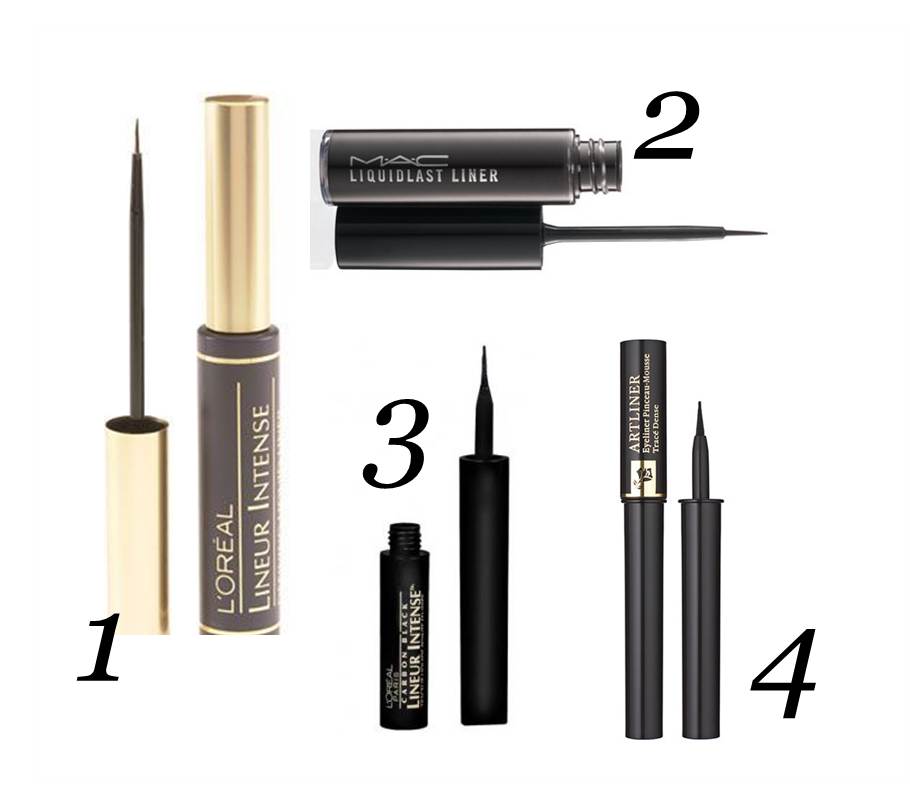
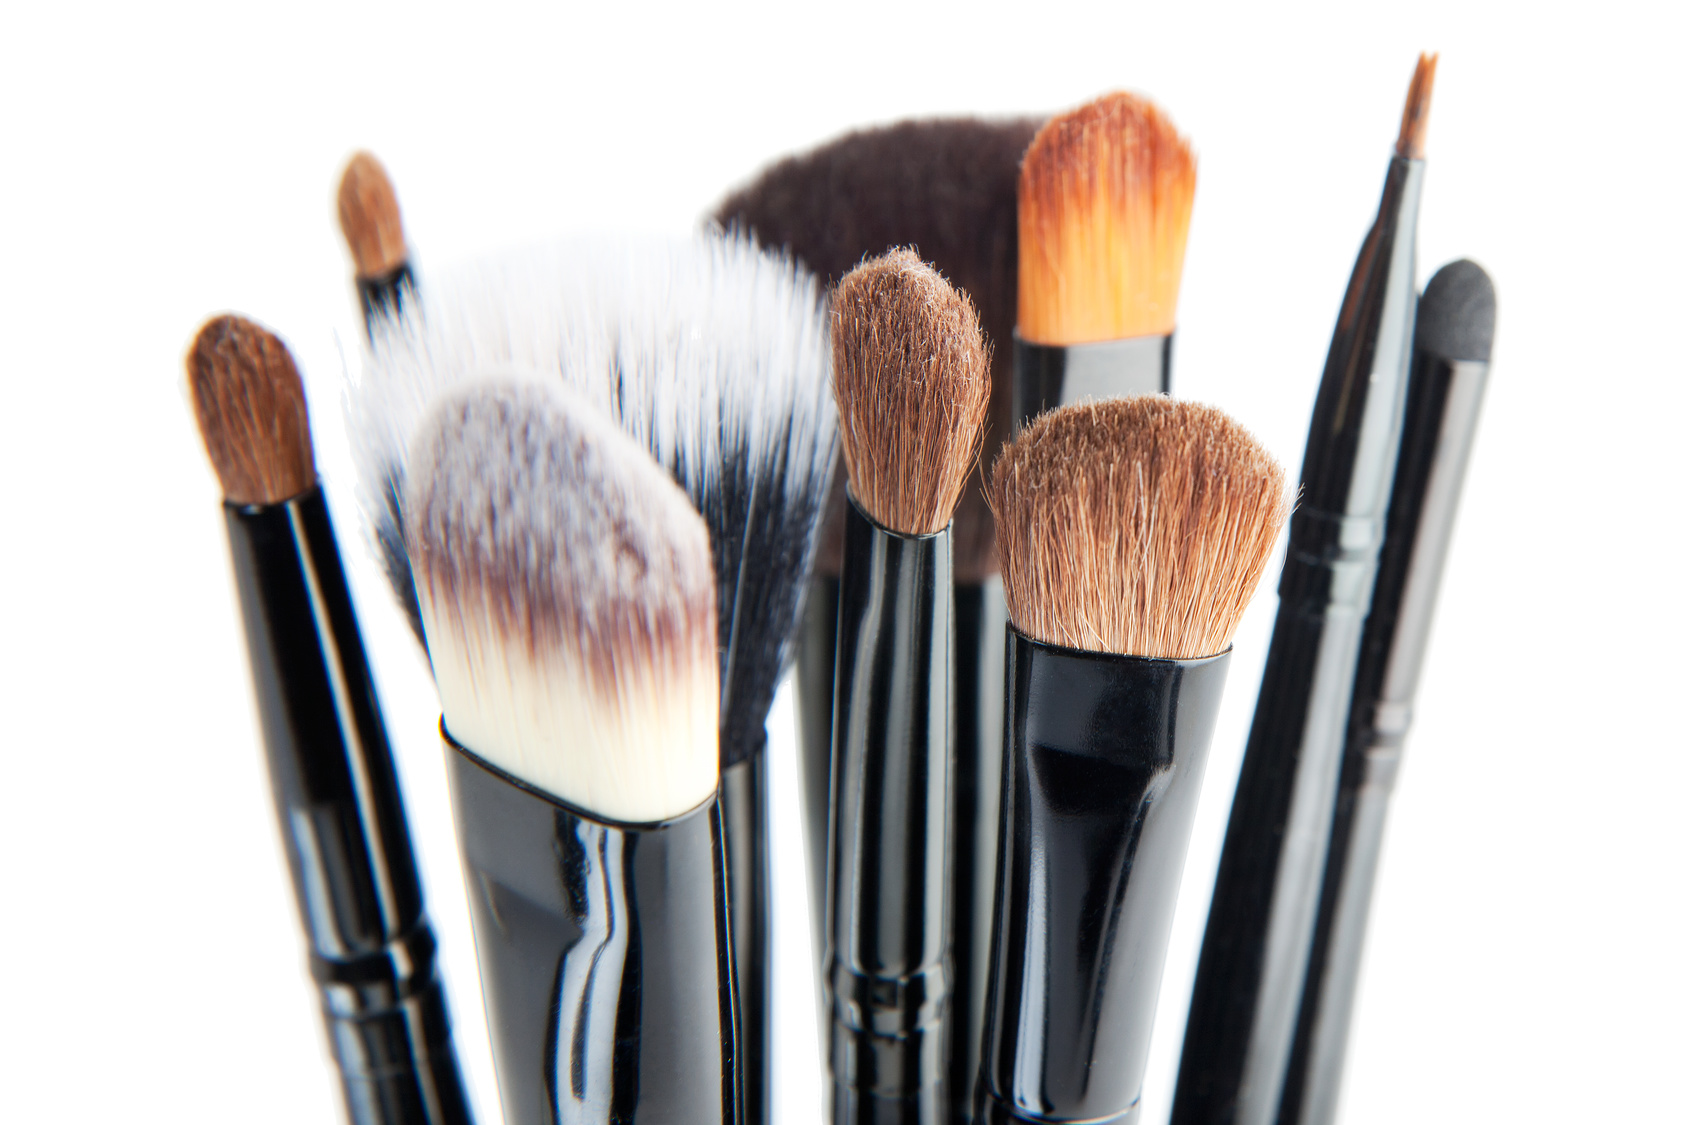
Celebrities have been wearing the winged eyeliner look for some time now. It amazes me how a line of black ink can transform a look so much. Ah, the beauty (no pun intended) of makeup. Below are four of my favorites eyeliners to achieve a perfect winged eyeliner look:


